“HANDS UP” Frame Decor
By Phoebe Nguyen | DIY
Imagine your loved ones seeing a photo you know they love. They keep smiling as they laugh at the memories associated with that photo, sometimes with pride, other times with embarrassment. But even so, a picture is worth a thousand words, and of course, you need something to compliment such a special photo.
A picture frame is a great way to express your appreciation, and even nostalgia, for that photo. Whether it be for friends or family, a picture frame will help you remember important achievements, precious memories, and otherwise finite moments that we tend to fall in love with later on. However, there are a lot of things to consider when making a picture frame. For instance, the type of materials, as well as the design of the frame, can influence not only how the photo is viewed, but the memories associated with that photo. As such, below are instructions as to how to create the best picture frame for your photograph.
“HANDS UP” Frame Decor
– paint
– frame
– cardboard
– sponge
– little plate for the color
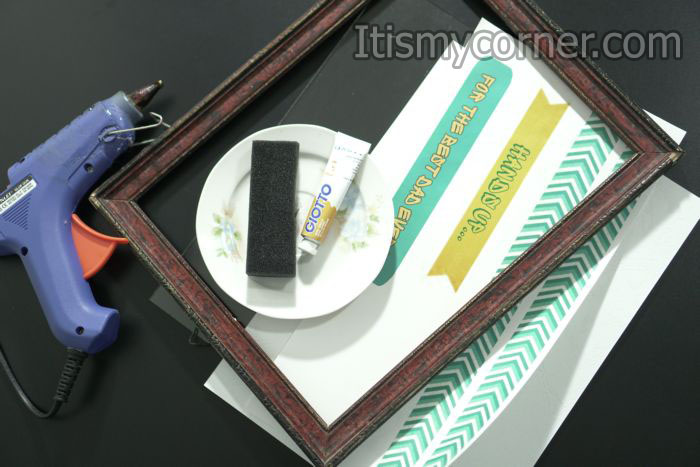
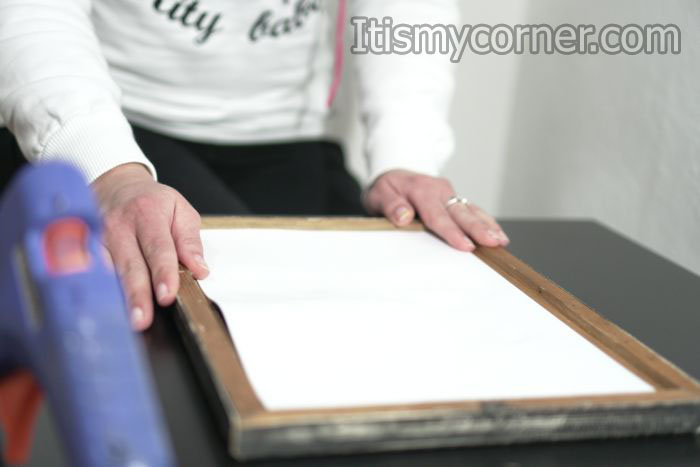
First you are going to need some bigger frame. I’ve chosen to use vintage looking frame with dimensions 20cm x30cm. When you are choosing the frame be aware that you will need space to fit your two hands inside. As I’ve mentioned before I’ve chosen my frame to be around a$ size and my hands fitted perfectly there.
Now you have to choose what colors you are going to use. I’ve chosen a few colors that were, light green, darker green and some yellow. Please know that you can choose any color it’s totally up to you and it definitely depends of your taste.
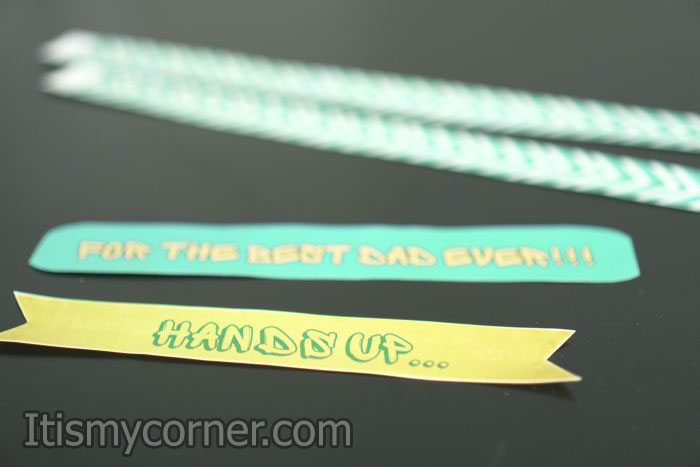
First cut the decorations you’ve printed on sticky paper previously.
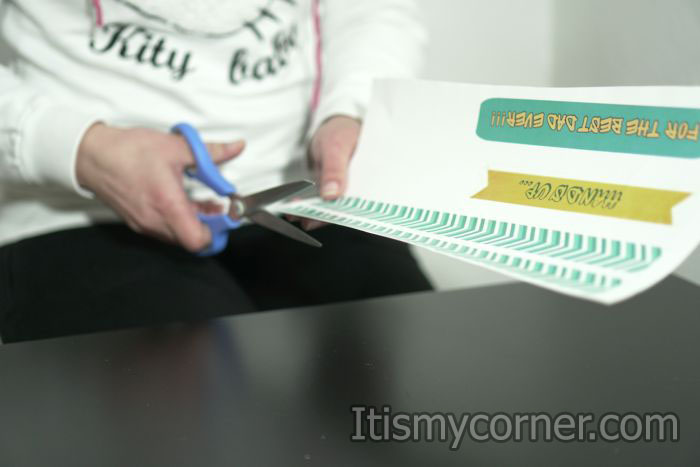
Take your cardboard, I’ve chosen to use white one with size A4, and start with decoration. First take the color in my case yellow. This color you are going to use for the palm hands stamp, so when you are choosing the color please know that this really has to be some color that is going to pop out.
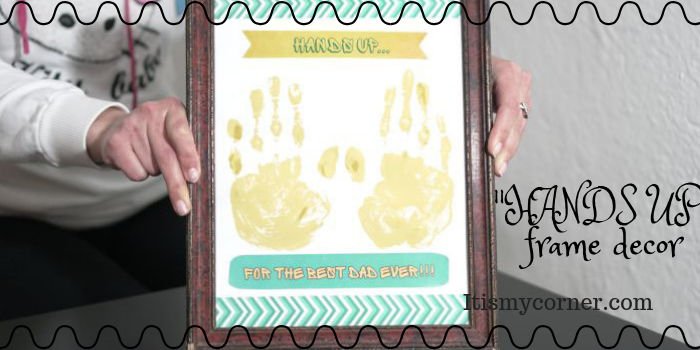
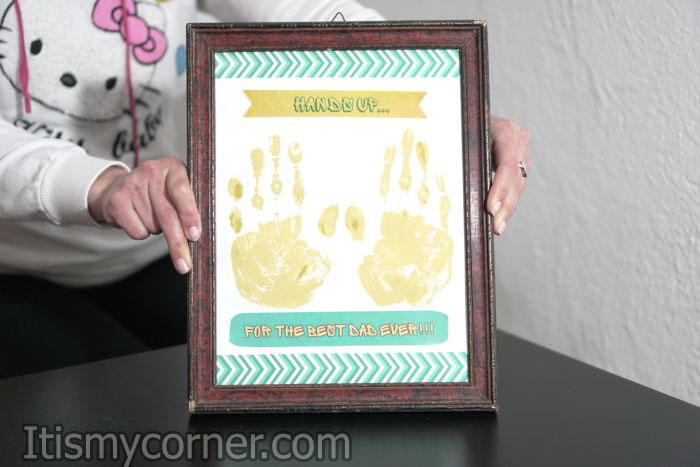
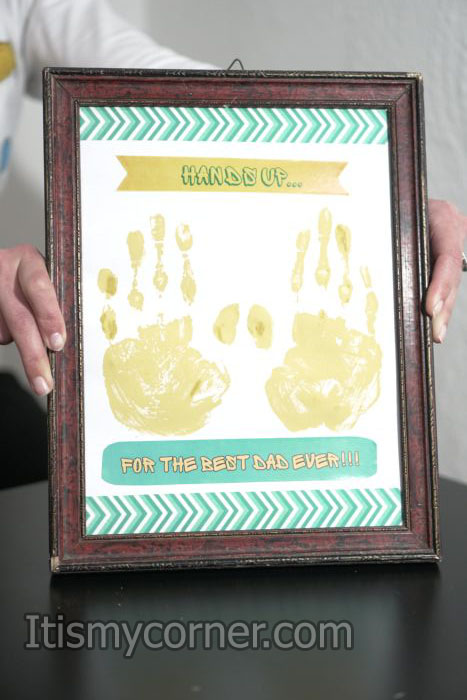
Take the color and pour some of the color in the little plate. You can decide if you are going to add some water in the color or not. I’ve decided not to add water in my color. Take the sponge and start putting from the color on your palms. When you have your palms covered with the color that you’ve already chosen, place them on your cardboard. Then take them off the cardboard and you are going to get perfect hand palm stamp. Now it’s time for the rest of the decorations.
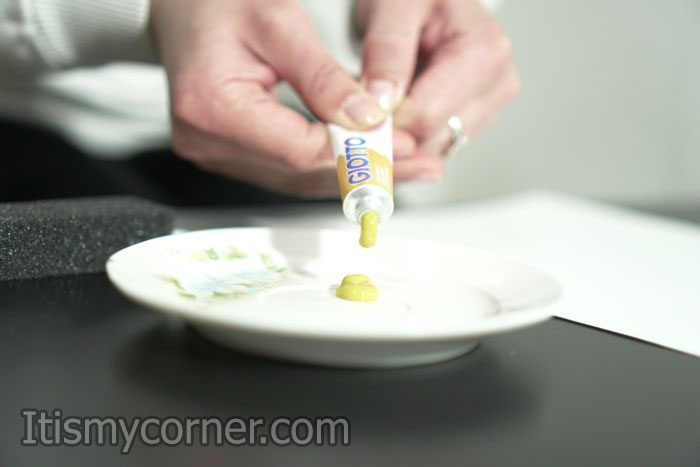
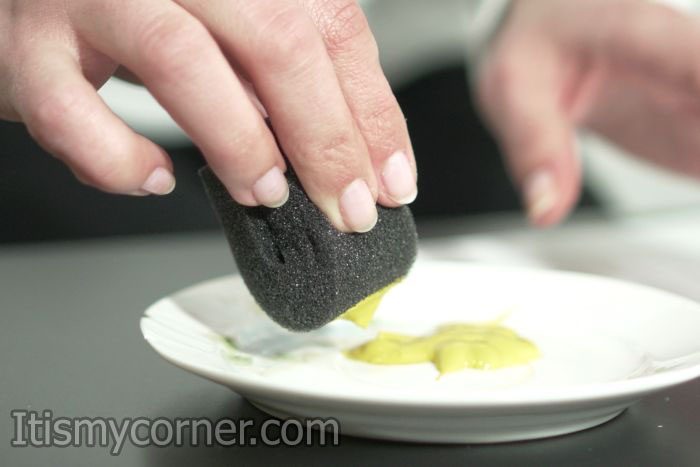
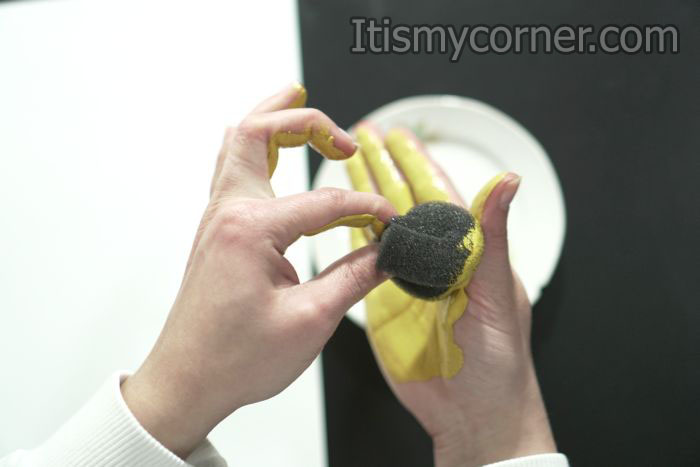
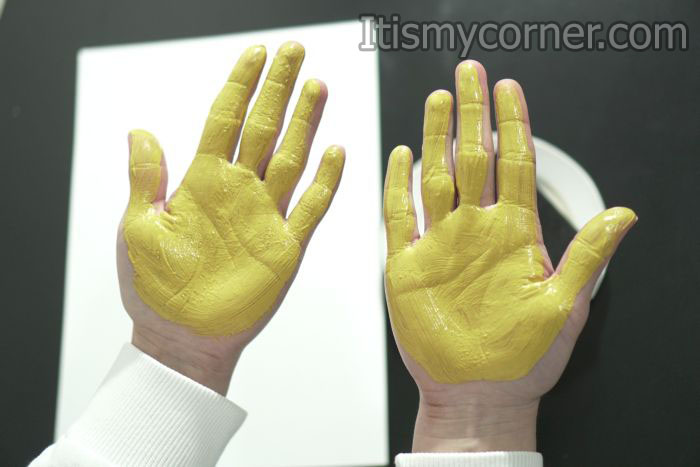
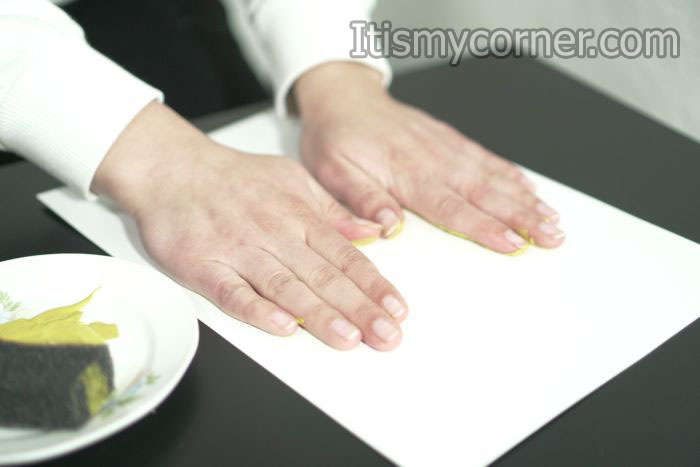
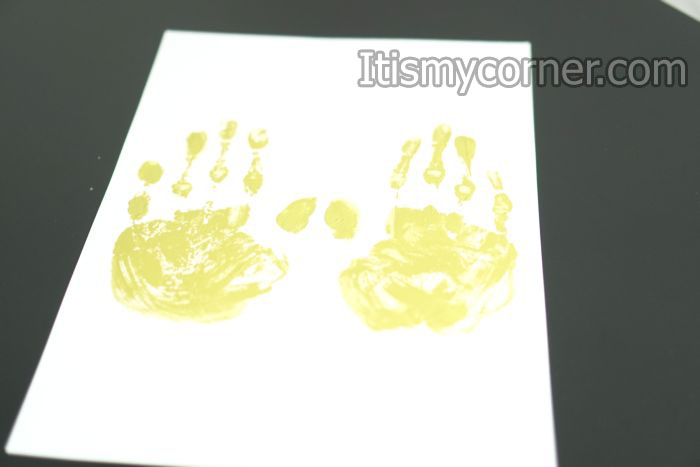
I’ve printed some decorative bars on a sticky paper in three different colors, white, lighter green and darker green. This two bars I’ve stick on the top and on the bottom. I’ve also chosen to use some quotes. The one was “HANDS UP” and the second one “FOR THE BEST FATHER”. I’ve previously created this stickers in Photoshop. The one quote I’ve placed on a yellow ribbon with green text and the other quote I’ve place opposite from the previous one, one a green background with yellow letters. Then I stick the quotes one above the hands and one below them.
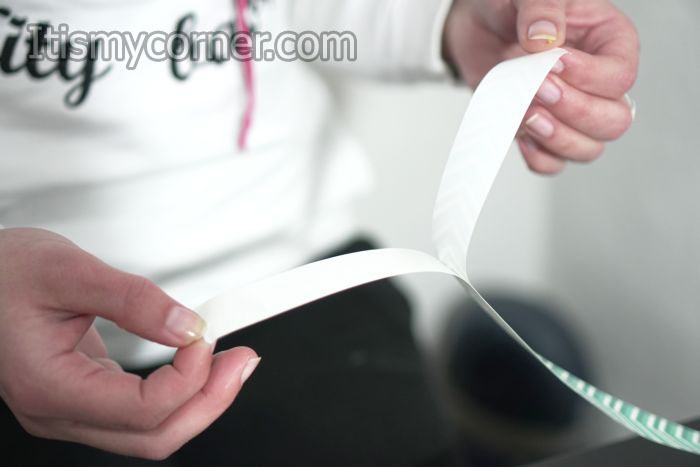
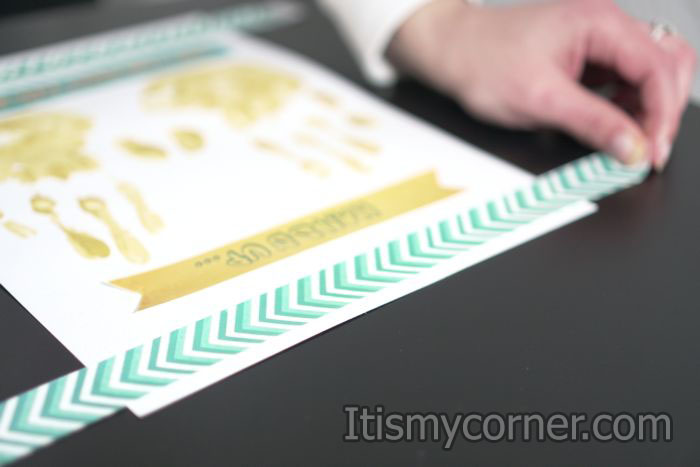
This worked perfectly for me. In this way I got some neat and beautiful look of a gift. When you are finished with the decorating you are going to put your cardboard inside the frame you’ve chosen previously. You can leave the glass in the frame or to get more structured look you can take the glass out of the frame. And your project is finished.
Have in mind that all these sticky tapes that I’ve used you can draw and paint, but I’m not that good at art so I’ve chosen to finish this project in this way.
My name is Phoebe, and I reside in Santa Ana, California. Whenever I go through a day that’s been full of nothing but stress, I like to unwind by taking part in various types of crafting, which has always been one of my favorite hobbies. I also enjoy crafting as a way to simply pass the time whenever I don’t have anything else going on.