Hula Hoop Photo Frame, Learn to Make Your Own!
By Phoebe Nguyen | DIY
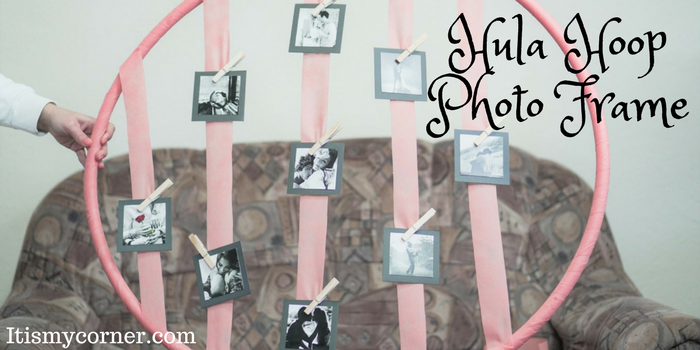
Are you looking for a better way to show off your precious photos, so that everyone can enjoy them? You could easily go to the store and purchase some of the traditional frames that are sold and be happy with them. While wooden frames, plastic frames, cardboard frames, and other store-boughtframes can hold multiple photos, only one shows through the glass. If you want to show off 10 photos you might have taken, you normally need 10 frames in order to do so. Don’t you wish there was a way to show off as many photos as possible, and all at the same time? There is now! The only items you will need you may already have at home or can be purchased inexpensively at the store. A Hula Hoop Photo Frame is a great way to share those precious memories instead of having to turn the pages of several different photo albums or cover all four of your walls at home with traditional picture frames. By following the steps of the tutorial below, you can be bragging about your photos in no time!
Hula Hoop Photo Frame
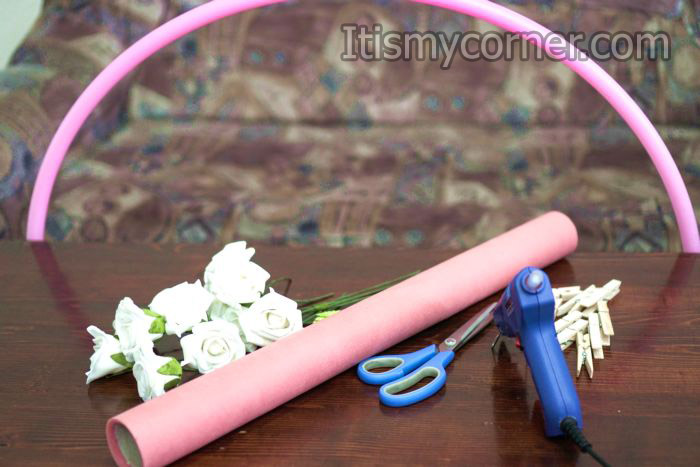
First thing you have to do is to cover the hula-hoop with some fabric. I’ve chosen to use regular fabric, but you can use some satin if you want or if you have some piece at home, it’s totally up to you.
There are several ways to cover the hula-hoop with fabric, but the following way described below I think it works the best. Cut some long stripes not too wide, about 5cm and start wrapping them around the hula-hoop. You are going to put some hot glue on the beginning and on the end of every new stripe. When you are going to finish with one stripe, take another one, and start wrapping it a little on the previous one and continue on… In this way you will get a neat look of your covered hula-hoop. You can use any color of fabric to cover your hula-hoop, it’s totally up to you.
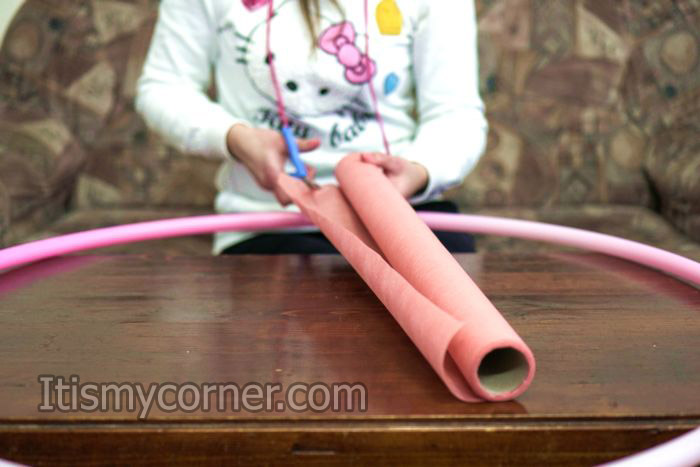
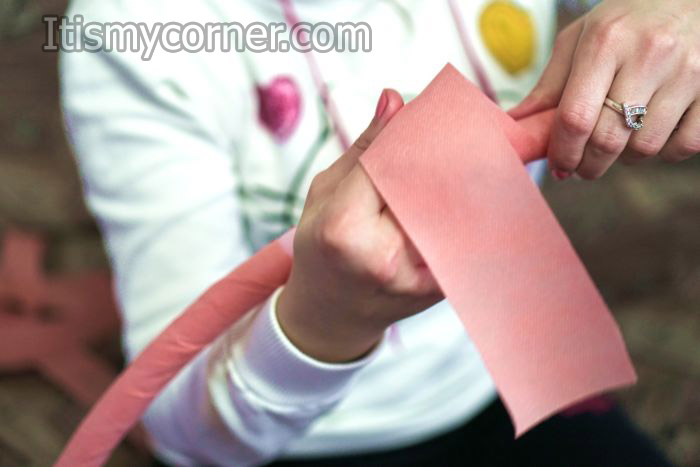
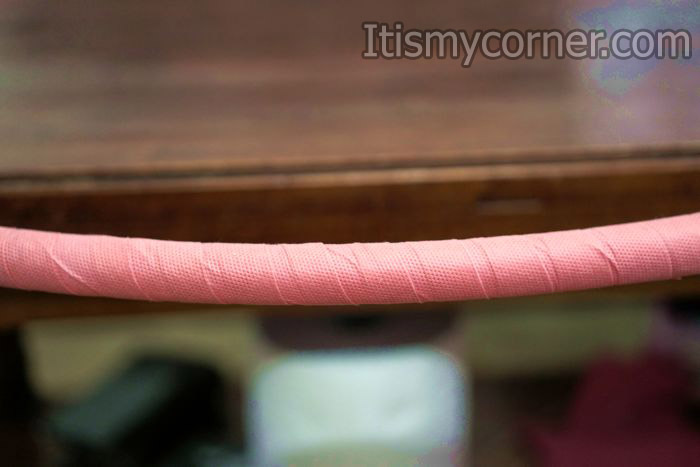
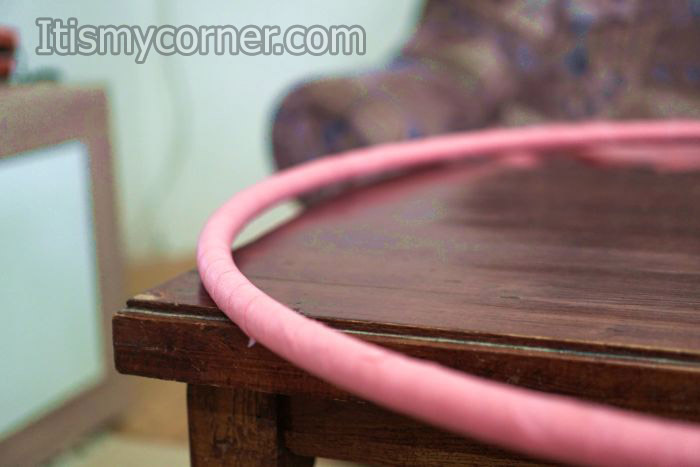
Maybe you can ever paint it or wrap it with some sticky tape, I haven’t tried this but I believe it will work well.
Now you will also need some stripes as the previous once, but this few will be with different length. You are going to glue these stripes across the hula-hoop using hot glue gun.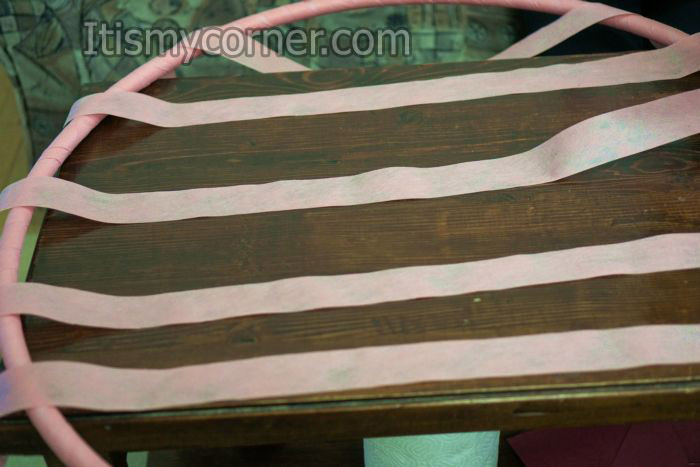
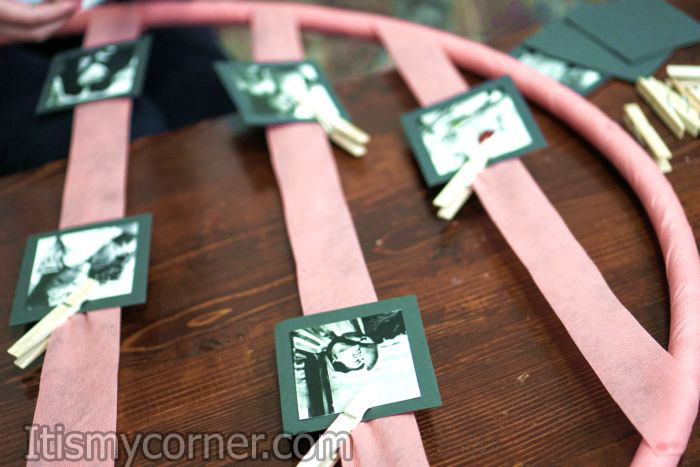
Now it’s time for you to choose few of your favorite pictures and print them in same size. I’ve chosen 10 pictures and the size of my photos was 7cm x 7cm. To make them look more interesting I’ve glued them on some black cardboard bigger than the pictures. The size of the black cardboard was 9cm x 9cm for every picture. Please know that this step is totally optional.
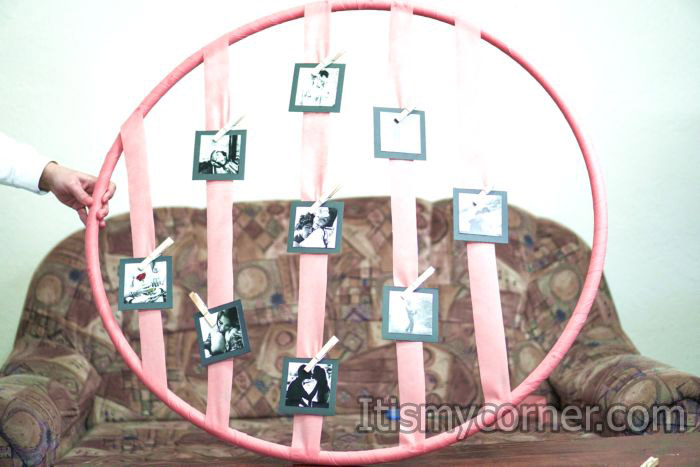
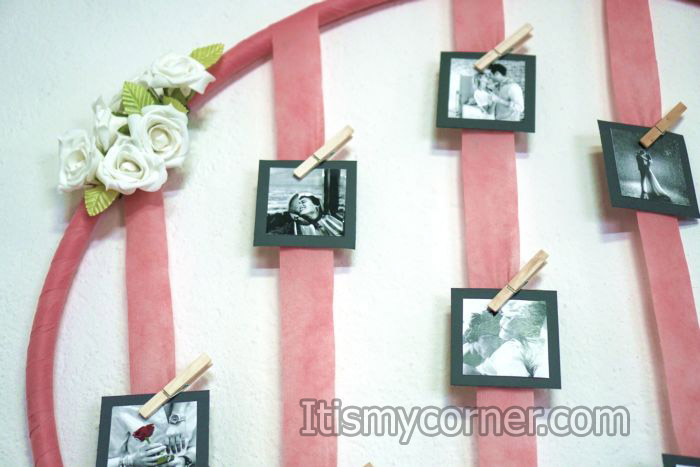
When you have your pictures chosen and printed it’s time to clip them with the wooden pegs. I’ve used regular wooden pegs for clothes, but if you have a chance and time to visit some craft store you can buy some tiny little pegs. I think they will work better on this project. Play a little with your pictures until you get the desiring look. I’ve used the most of the pictures on the center stripe then less pictures on the other two stripes and one picture on the last stripes from the both sides.
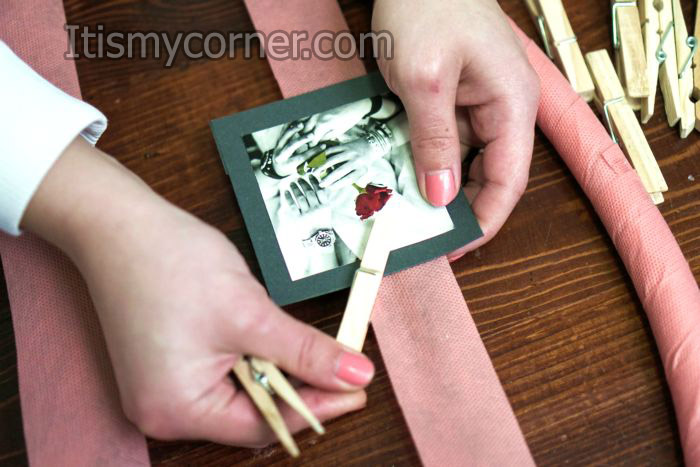
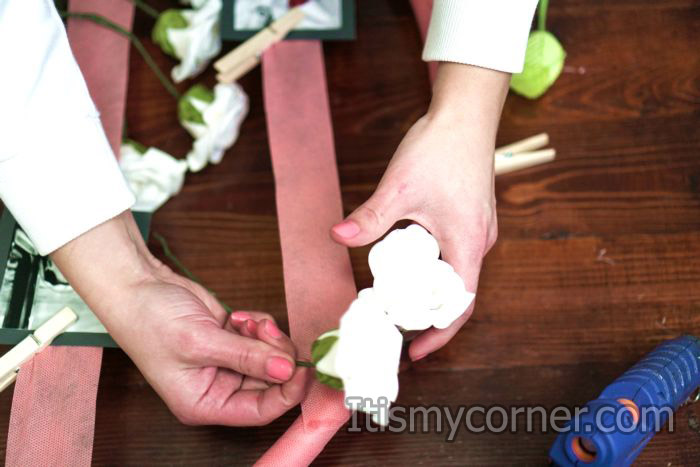
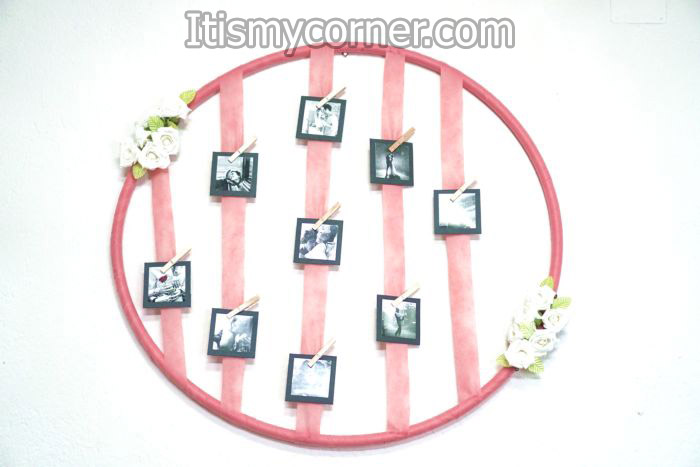
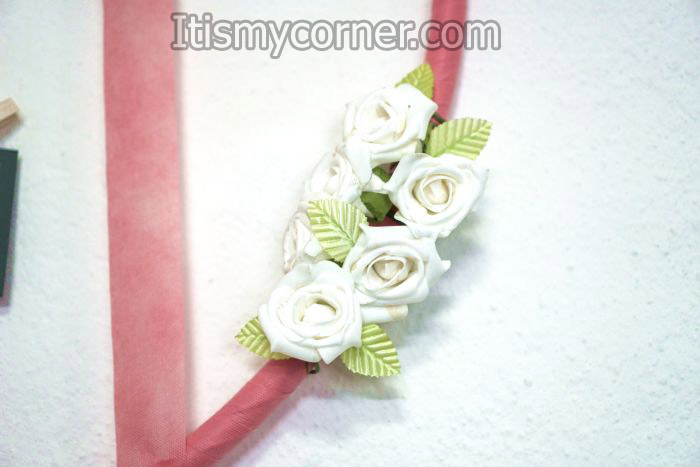
To make your hula-hoop look more interesting you can glue some artificial flowers. I’ve chosen to use white flowers, around ten of them. Half of them I’ve glued with hot glue gun on the one side also combining them with some green flowers. The other half of the flowers I’ve glued on the opposite side of the hula-hoop.
Here is the final look
You can also use some balloons for decoration, or you can use only leafs or only flowers and cover the whole hula-hoop. In this way you are going to give the hula-hoop a totally new dimension.
My name is Phoebe, and I reside in Santa Ana, California. Whenever I go through a day that’s been full of nothing but stress, I like to unwind by taking part in various types of crafting, which has always been one of my favorite hobbies. I also enjoy crafting as a way to simply pass the time whenever I don’t have anything else going on.