Make Your Own Puzzle – DIY Puzzle
By Phoebe Nguyen | DIY
Puzzles are a beloved gift that doubles as excellent ways to stimulate our intellectual and creative abilities. From their fun, sometimes frustrating, ways of challenging us, to the sense of accomplishment that people have whenever they finish a particularly difficult puzzle, there’s no doubt that puzzles hold a special, yet complex, place in our hearts. Not only this, but there are also many health benefits to solving puzzles. For instance:
• they help build up your problem solving skills
• they help improve your dexterity
• they promote hand-eye coordination
However, keep in mind that not every puzzle is the same. Some are more complex than others, and it can get to the point where many people quit halfway. Because of this, it’s important to take into account the age of the person doing the puzzle, whether or not they’ll have any help, and even the picture on the puzzle. As such, below are instructions you can use to create a puzzle that will be enjoyable for both you and your loved ones.
Make Your Own Puzzle – DIY Puzzle
– Can or little bucket
– Two different pieces of fabric (in my case white and blue)
– Two buttons
– Scissors
– Hot glue gun
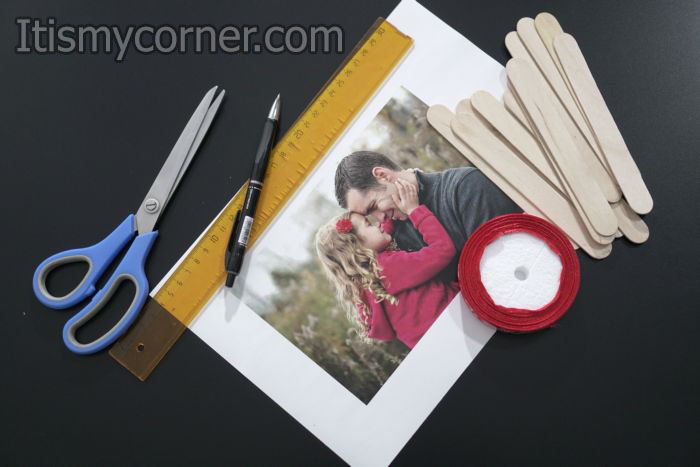
First you have to choose one of your favorite pictures. I needed gift for father’s day that is why I’ve chosen that kind of picture. When you’ve chosen the picture that you want to use for this project you have to decide how big you want your puzzle to be. I wanted mine to be around 10 sticks. Then you have to measure your sticks. You have to measure the height and the width of one stick. Then multiply the width of one stick by the number of the sticks you want to create your puzzle.
The width of one stick of the sticks that I’ve used was around 2cm. I’ve decided to use 10 sticks so the width of the picture I’ve chosen previously was 20cm. The height was around 15 cm.
Now, open your picture on Photoshop, make it with dimensions 20cm x 15cm and print it on a sticky paper.
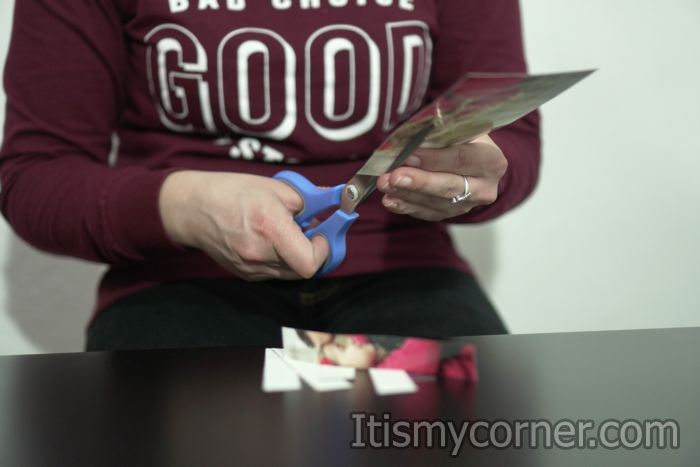
When you have your picture printed it’s time for the next step. Now you are going to cut your picture using scissors. For this step you can also use cutter for paper it’s totally up to you.
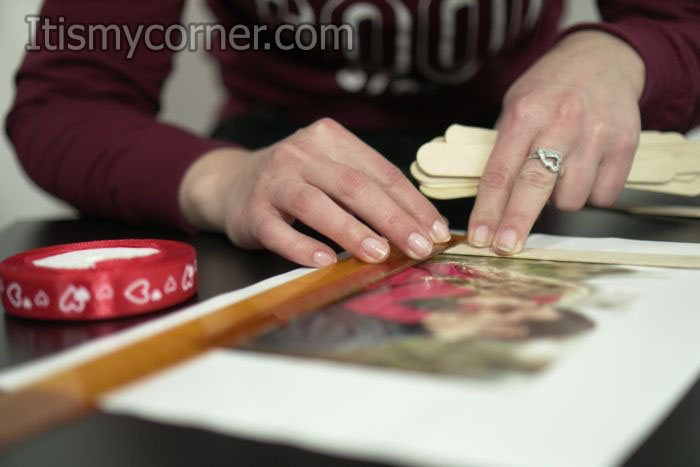
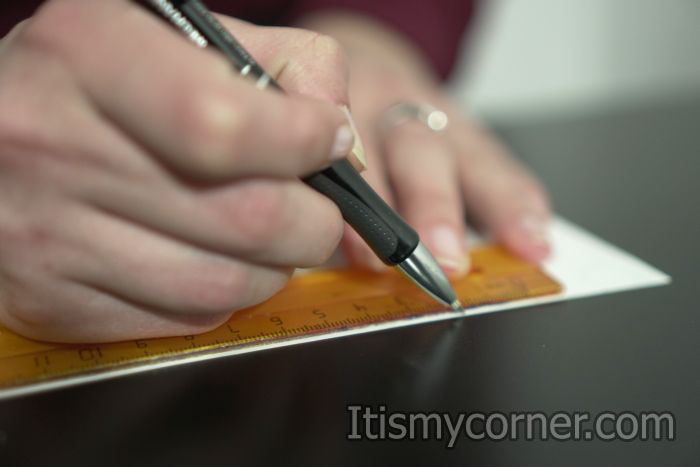
Now, take your ruler, put some marks on every 2cm and then draw lines connecting those measurements. The next step is cutting your pictures by the lines that you’ve already drawn. when you finish with cutting you will have to end up with 10 stripes of the picture with height of 15cm and width of 2cm each.
Take every stripe and glue it on one stick. In this way you are going to get 10 stripes with different part of the picture on it.
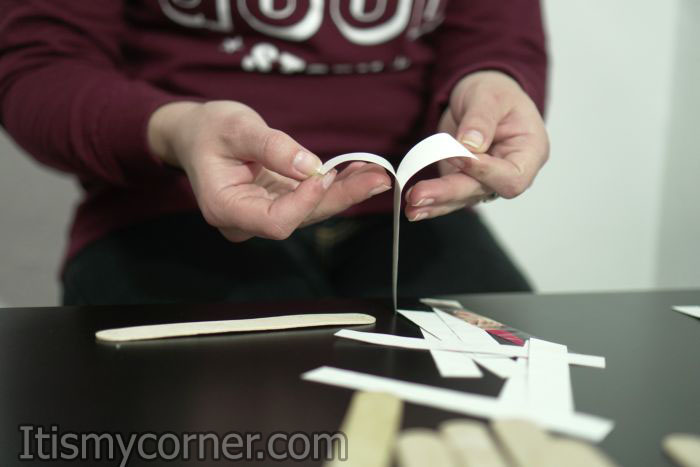
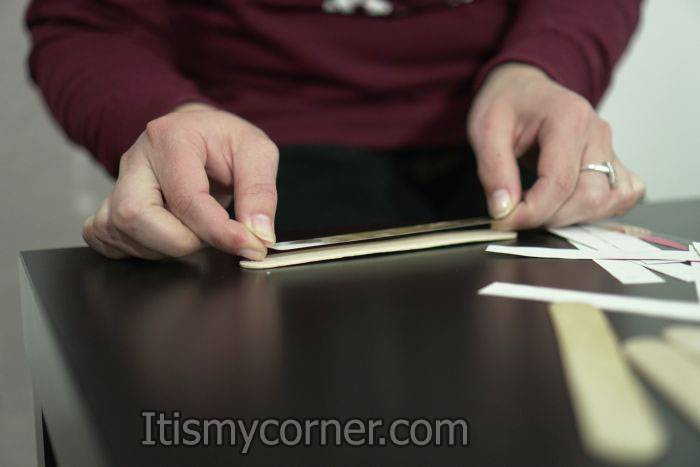
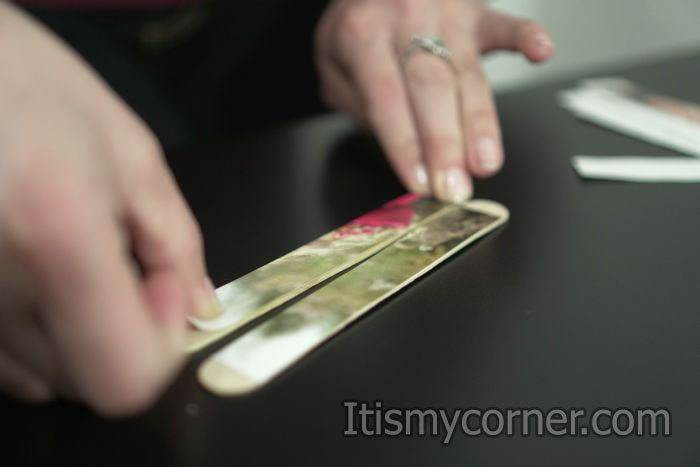
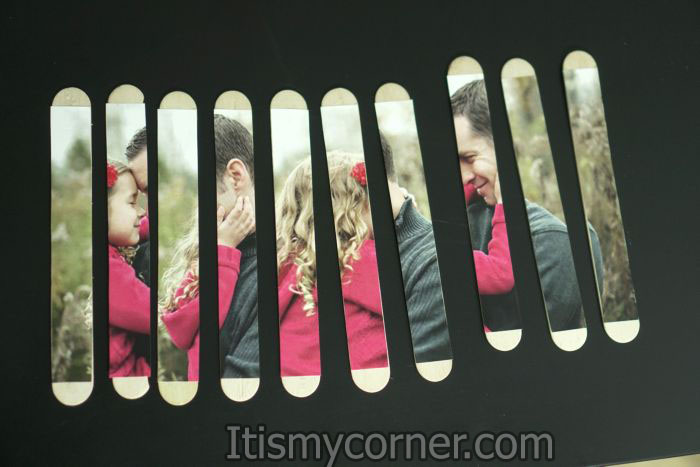
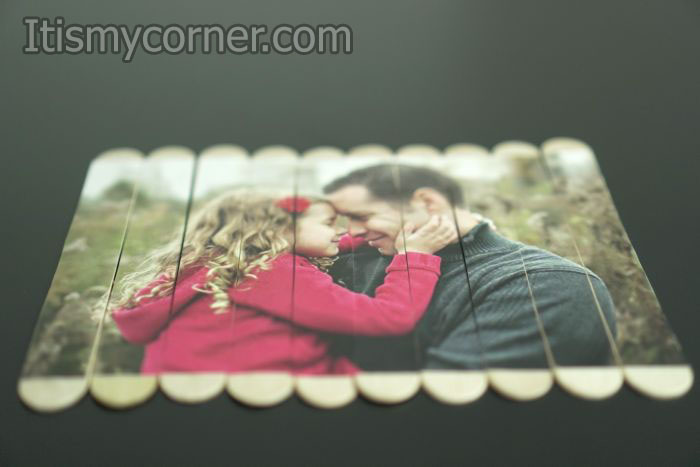
When you are going to put them in the right order you will get the picture you’ve chosen previously with some effect of a puzzle.
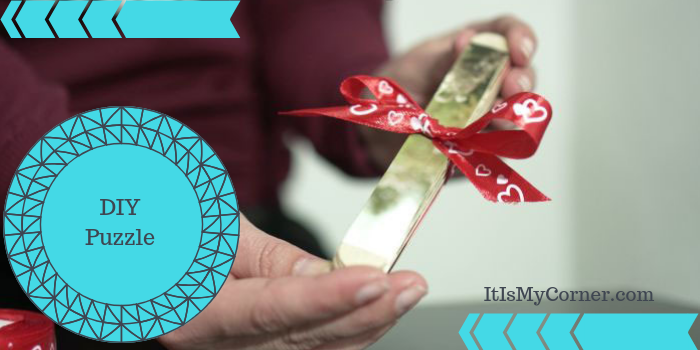
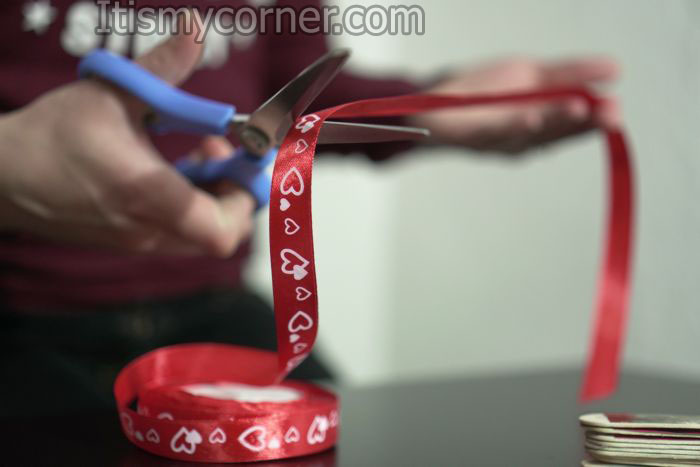
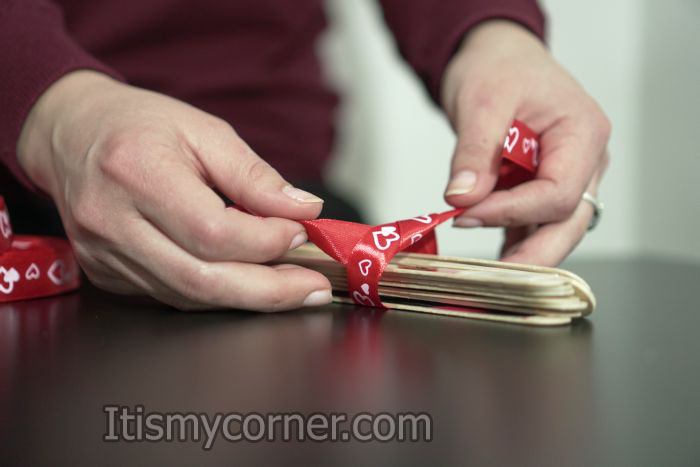
Take all the doctor sticks, ordering them one onto the other, take the satin ribbon, cut one piece of the ribbon using scissors and tie a bow around the sticks. And there you have a perfect gift.
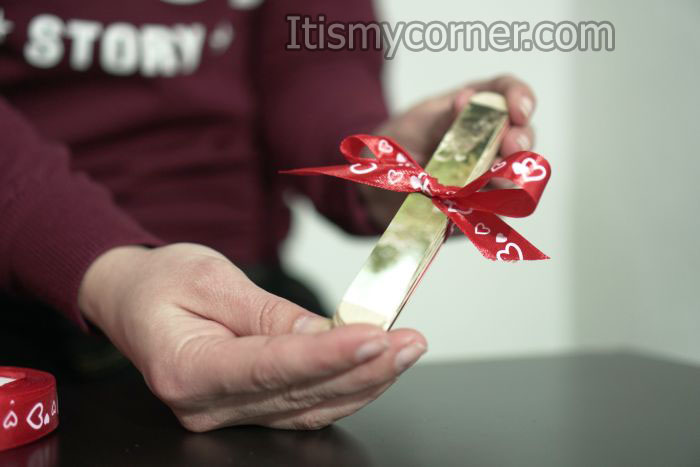
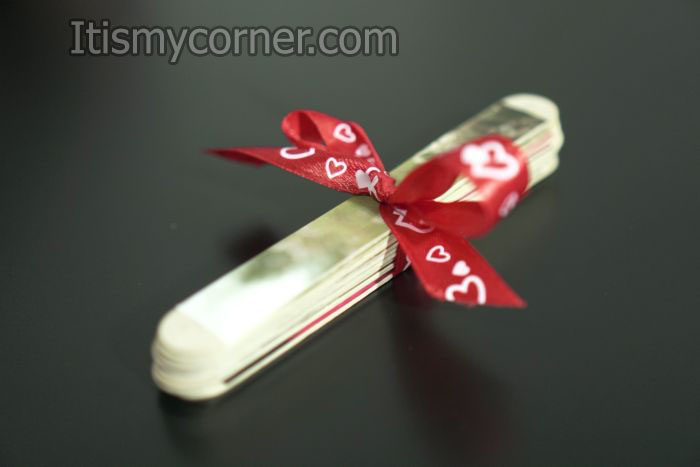
Some additional advices. I didn’t wanted my picture to start from the top and begin at the end of the sticks so I left some empty space at the top and at the bottom on the sticks maybe around 1cm. This is totally optional and depends of your taste. You don’t have to use picture for this, you can also choose your favorite quote. I think it will be real challenge to order the words in the right way if you don’t know the quote. Also, you don’t have to print your picture on a sticky paper. You can always print it on a regular paper and then use some glue to stick it on the doctor sticks. Please remember that this also can be great way to keep the attention of your child for a while and make them doing something interesting and fun.
My name is Phoebe, and I reside in Santa Ana, California. Whenever I go through a day that’s been full of nothing but stress, I like to unwind by taking part in various types of crafting, which has always been one of my favorite hobbies. I also enjoy crafting as a way to simply pass the time whenever I don’t have anything else going on.